The Definitive Guide to the Raycasting Game Maker
Guide Additions & My 1st RGM Game
So things are off to a wonderful start.
When I started this guide, I knew the community would be small and the interest specific to the existing and future RGM community. And while there are alternatives to the Raycasting Game Maker, I like the fact that RGM is genuinely a raycasting engine rather than a modern look-alike. So there isn't quite another engine that matches its natural DOS-qualities.
Now the whole reason I was spurred to create this guide in the first place was because I wanted to make a game or two with it, but I had no idea how to. And now that I've shared all of my new knowledge with you, it's time I put it to practice myself.
But in order to do that, there's the question of project organization.
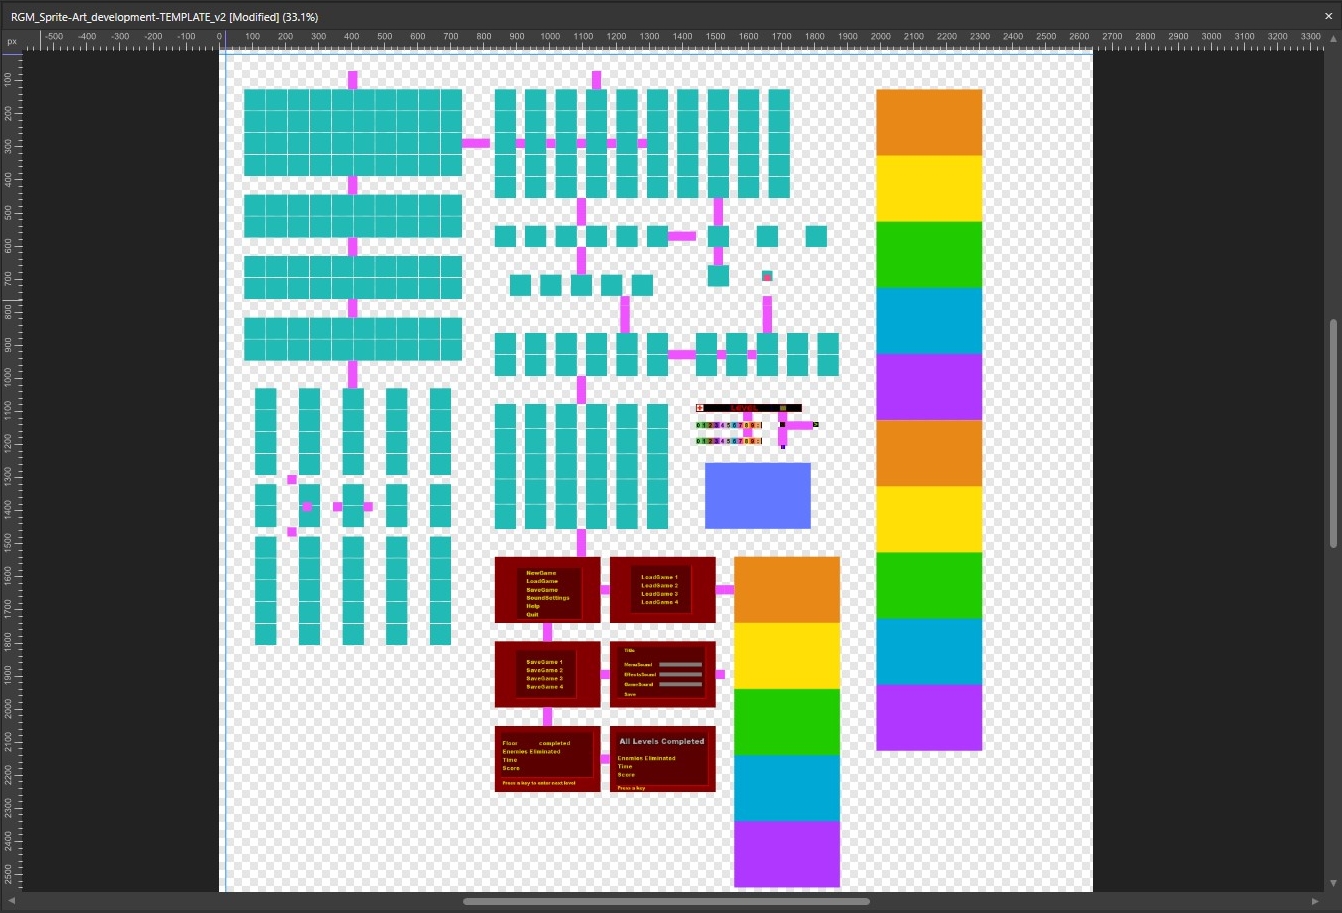
Unlike most game engines, RGM is a drag-and-drop system with a finite number of textures and sprites and enemies that it can use, so everything has a slot to fill. Therefore, if I want to make sure all of those slots are filled and everything has a matching color scheme and style, I think that calls for an Artwork Atlas. This is different to a Texture Map or Sprite Sheet which has everything perfectly sized to perfect square areas or groups. Most of the art in RGM is 64 x 64 pixels, but the weapon overlays are 64 x 72, the key is 32 x 32 with a 20 x 20 inset, and all of the splash screens and menus are 320 x 200. So they all need a place with slightly different dimensions.
So that's why I'm making an Artwork Atlas to keep track of everything. This picture here is only a Work-In-Progress. But once it's ready, I'll be updating the Guide to include the final version.
The nice thing about this is I don't have to design the art one by one and paste them into this; I can use the Atlas directly inside Aseprite, or any image software, and work on it between programs.
The tricky part comes when I want to split the artwork up, and I wanted to try and find a way to make that doable for everyone. I'm not sure if it will, but I'll have to include an addendum guide specifically for how to use this Atlas.
Basically, the final Atlas will come as an Aseprite file in "ASE" format. And every single box will be split into what they call a "slice." Then, you have to copy some code from Git-Hub designed for saving a batch of "slices" and export them from Aseprite into individual .PNG files. Once that Git-Hub script is loaded into Aseprite and executed, you should see every single slice from the Atlas saved into the folder of your choice, all pre-named to the names they need to be for RGM to recognize them.
The only problem now is you have to convert these .PNGs into .BMP files. And the simplest way to do that is to use my Go-To image viewer, Irfanview. Not many websites talk about it, but it's been a work-horse image viewer and converter for more than 20 years and still works as good as ever. Honestly, I'd trust it more than the other image viewers I've seen, and it's free. It has a built-in "Batch Convert" dialogue box that you can add any photo to and it can re-save it in another format with the same name.
Once you do that, everything is converted, and you can now start organizing your final artwork to start copying into the GameBitmaps folder, or importing directly into RGM just like the Guide explains.
I've already joined my first Game Jam to submit the project I'm building, so I should have another dev-log about the Atlas next week.
Files
Get The Definitive Guide to the Raycasting Game Maker
The Definitive Guide to the Raycasting Game Maker
If you're having trouble learning how to use the RGM, this guide has it all.
| Status | Released |
| Category | Other |
| Author | FilmGamerJ |
| Tags | FPS, gameengine, guide, raycasting, rgm, Tutorial, wolfenstein |
More posts
- 100 Downloads Achieved!Feb 09, 2023
- Artwork Atlas - Now Included!Dec 24, 2022
- Artwork Atlas - Update #2Dec 19, 2022
Comments
Log in with itch.io to leave a comment.
Hi Jonathan, I'm not a game developer or artist, just a retired trucker. I have been interested in game making for years though when I discovered FPSC . In making your enemy sprites in Aseprite are you using a mouse or stylus to draw with?
I have 0 drawing skills other than stick figures.
I am having lot's of fun though with RGM using Photoshop to cut out images that I download.
I look at games like Templar and am amazed how well done they are.
Thanks for your tutorial.